Hi everyone!
Happy Tuesday!! How is everyone today? We hope you’re feeling awesome! Have you seen yesterday’s post? We were inspired by one of Jessica Biel’s outfits, which was reminiscent of our Kate by Camelot Design Studio Collection, for this week’s Moody Monday.
It’s DIY time!! That’s right, today is Tuesday…so it’s time for another How To’s Day. As always, food seems to be a very popular topic at the Camelot Design Studio, so today’s tutorial is one near and dear to our hearts…and tummies! Last week, we shared with you our adorable, and scrumptious-looking, plush macaron pillows tutorial. This week’s tutorial? …also food-related, but hey, we’re good with that! Today we are featuring our Hostess Apron Tutorial.
Our Hostess Apron is a very pretty, ruffle-trimmed apron that is perfect for all your baking and cooking adventures…while still being in style! We also love a good party (glitter and confetti streamers required!) and we love to bake & cook, almost as much as we love to eat all the delicious foods, so why not put all three favorites together? Host a sewing/baking party with your closest girlfriends: sew your own hostess aprons and then bake some yummy cookies as a reward! How fun! Our What’s Cookin’ by Allison Cole is absolutely brilliant with our apron; the kitchen-inspired prints work so great, and are so fun & bright together.
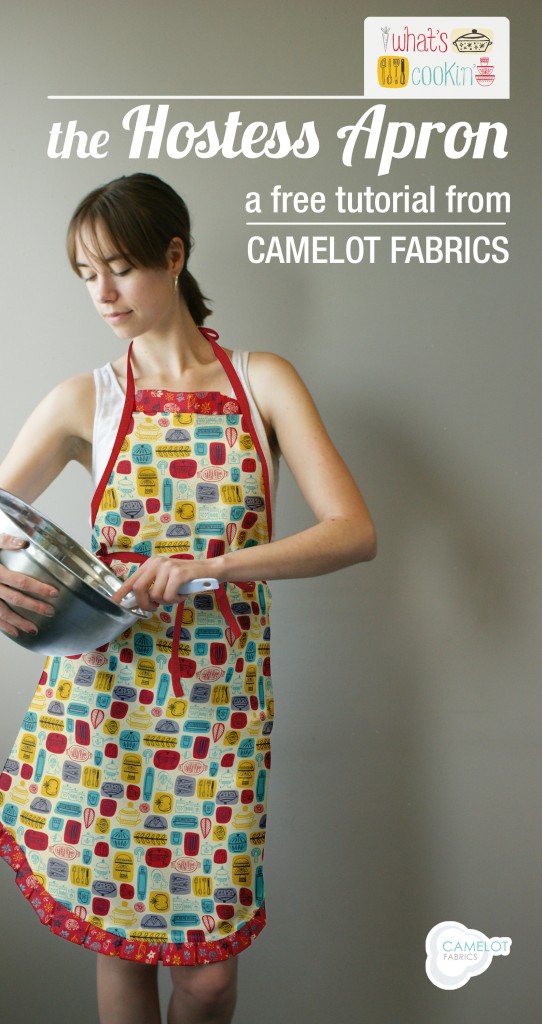
We cannot wait to have our own sewing or baking party soon; we’ll all be rockin’ our fabulous aprons and eat scrumptious food….what could be better than that? :) Want to create your very own Hostess Apron? Click HERE to see the full tutorial!
more.
08
July
Hi everyone!
Happy Tuesday! We hope everyone is having a fantastic day so far. It isn’t the greatest of weather here today, but gosh is it hot and humid!! It’s days like these where all we want to do is stay indoors with the good ol’ AC :)
To liven things up a little bit here, we have our How To’s Day for you! With Summer officially here, that definitely means enduring in more outdoor activities…especially all things water-related! So excited for Summer days of swimming at the lake, catching up on a good book at the beach, and maybe even having a jet-ski adventure (…depending on how brave we’re feeling that day haha!). We always love a little nautical for the Summer, especially in fashion and décor. Who wouldn’t want to wear a navy and white striped dress and big floppy hat while cruising on the lake in a boat? Um, where do we sign up? :) But if you aren’t planning an adventure of the sorts this Summer either, have no fear…today’s How To’s Day is bringing the water to you!
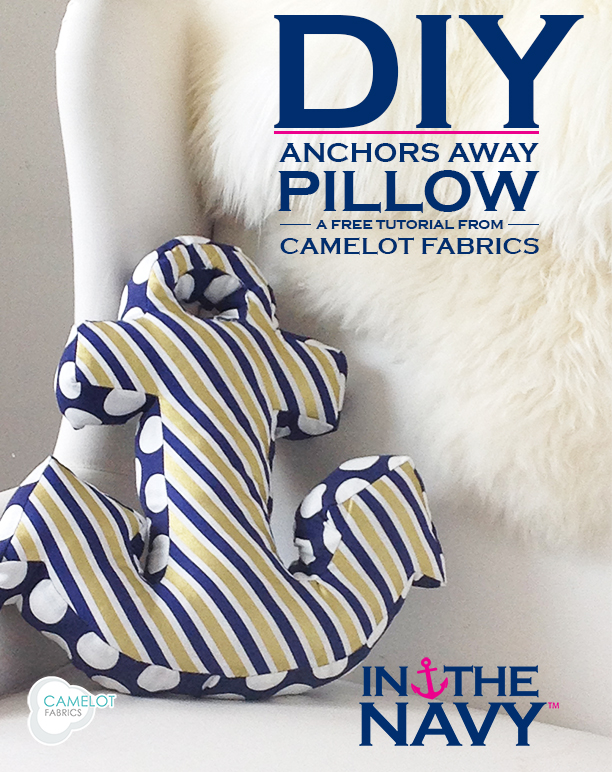
Today we are sharing our tutorial on our Anchor Pillow, featuring our In The Navy by Jackie McFee Collection. And these two couldn’t be more fitting; our In The Navy collection features anchors, stripes, and dots in a fun navy, pink, and metallic gold color combination! We love the idea of a nautical-inspired guest bedroom or family room – add some decorative shells, some wood paneling, and a couple of our Anchor pillows on a striped couch…and you are all ready to set sail (…or at least it will feel that way haha!). Finish off the look for a nautical-inspired quilt, or two.
Check out the full tutorial for our Anchor Pillow HERE! :)
more.
24
June
Hi everyone!
Happy Tuesday! Hope everyone is having a great one so far!! It’s such a pretty day out, we decided to have a fun photo shoot outside for today’s post! And even more prettiness coming your way with our current Neon & On FQ Bundle Giveaway that ends tomorrow. Be sure to enter HERE if you haven’t yet! :)
Speaking of photo shoots, today’s How To’s Day is inspired by just that! Here at the Camelot Design Studio, we are always looking for new and progressive ways to improve the look of our blog. We try to post interesting and refreshing things daily, and we hope you have been enjoying our posts thus far, but there’s always room for improvement! One thing that we are trying to get better at is our photography skills. A well-written post is one thing, but having an eye-catching photograph is what will grab the reader’s attention. What we have learnt through practice is that no matter how fantastic your camera is, lighting is key to a brilliant photo! However, studio lighting such as softboxes, umbrella lighting, and reflectors can be a pretty pricey investment…especially if you don’t need to use it every day.
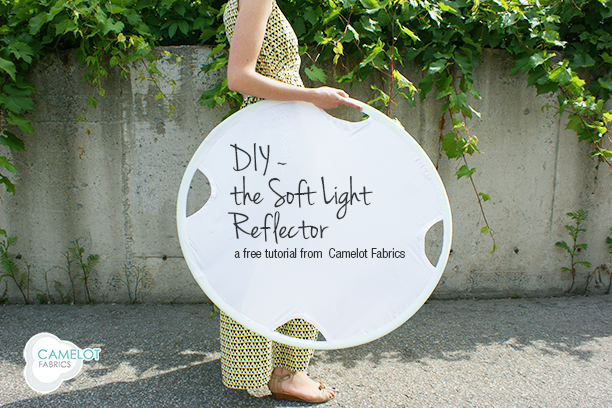
We have come up with a pretty brilliant DIY project that is 1) cost-effective and 2) a great way to improve your photography skills/photos. Our DIY Soft Light Reflector uses our satin and, if you can believe, a hula hoop! How’s that for being resourceful? :) We have found that our soft light reflector reduces shadow lines and softens the appearance of your subject, thus creating a better, smoother, and prettier photograph!!
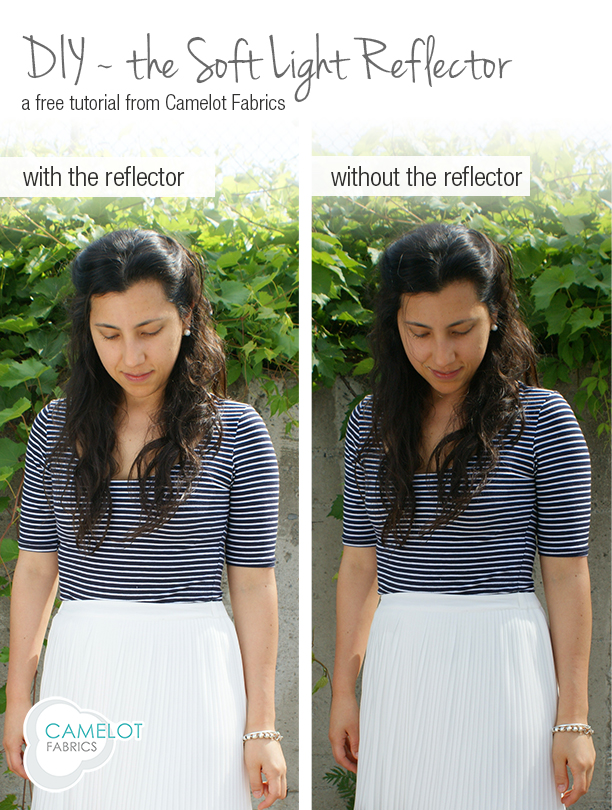
Now you can be your own professional photographer at home, no matter where you live. Take us for example: we’ve had to make due with our urban surroundings of trucks and warehouse buildings. Looks pretty good though, right? You never would have believed! :)
Click HERE to see the full tutorial!
more.
17
June
Hi everyone!
Happy Tuesday!! We hope everyone is having a great start to the week. It’s Father’s Day this weekend!! It’s the day to celebrate the man who has always been there for us, no matter what. And this includes (but is not limited to!) killing spiders, shoveling the snow in -30 C weather, making us his famous spaghetti when mom was sick, miraculously fixing that hairdryer that you thought you broke, and loving us unconditionally. We appreciate everything that you do for us, Dads – thank you for everything! :)
What better way to show your dad how much he means to you by making something from the heart. We have an awesome Passport Cover Tutorial for this week’s How To’s Day that would be the perfect gift for that inspiring man in your life. This sleek passport cover is such an essential for any avid traveler – there is nothing worse than rummaging through your things while at the airport trying to find your passport. As if airports weren’t stressful enough! With our cover, your passport will be protected…and with the pretty fabric, easy to find! The elastic band adds extra security, so you can slip your airline ticket and other essentials inside too. And with the inner pockets, you can hide away extra money or cards. We especially love our passport cover with our navy and tan prints from Paisley Please; stylish but neutral enough for a man.
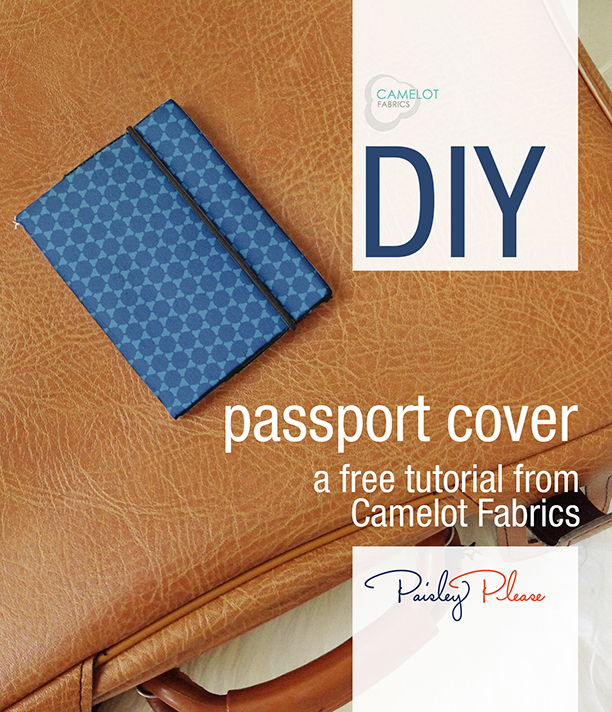
Ready for the full tutorial? Click HERE for the free tutorial for our Passport Cover!
more.
10
June
Hi everyone!
Happy Tuesday! I hope you all are having a wonderful day!! We are happily enjoying the sunshine and warm weather today. The pretty weather is making us daydream of taking a relaxing, tropical vacation to Turks & Caicos or Hawaii! And speaking of dreaming, we have got a DIY project to share with you today that reminds us of just that. Our heads are in the clouds today…
This week’s How To’s Day is our DIY Star and Cloud Shape Pillows tutorial! All of you fellow dreamers and astronomy lovers, this project is perfect for you. Another bonus, it is super easy to make AND is an exceptionally adorable project! Our shape pillows would be a great addition to a sky-themed bedroom (think clouds and stars scattered across a blue comforter!) or as a gift for a future astronaut! We always love to encourage creativity here, so these would be perfect playtime toys for kids – let their imaginations run free – and then a comfy accompaniment for naptime (because all that playing can wear you out, after all!). We adore our shape pillows with our Take Flight by Vita Mechachonis, a brilliant and bold airplane- and sky-themed collection!!
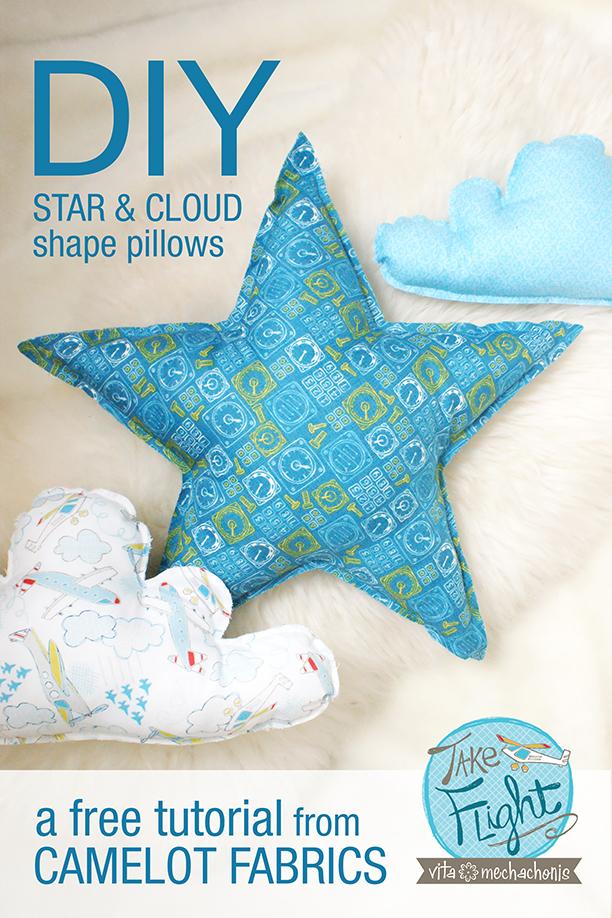
Click HERE to see our free tutorial on our Star and Clouds Shape Pillows! Let your imagination and creativity take you on a wonderful journey, to dance with the stars and the clouds…
more.
03
June


