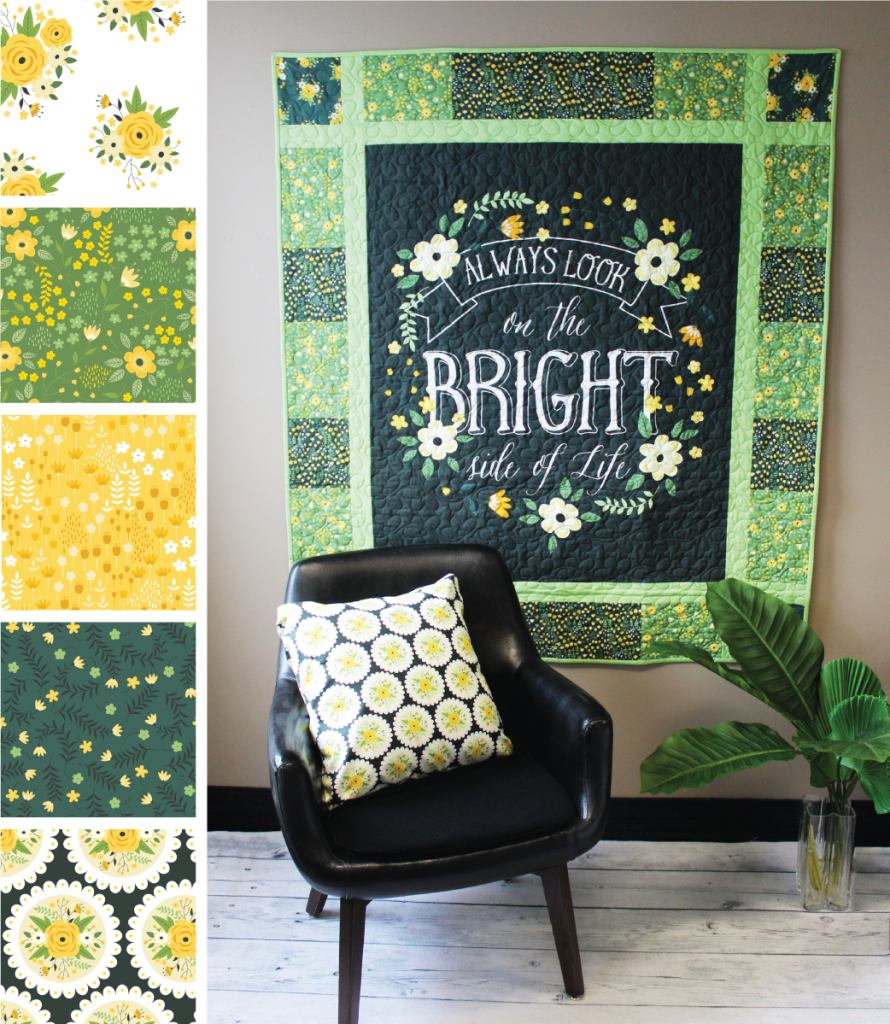
A few fabrics from the Bright Side collection by Alisse Courter, and the Bright Side Quilt – available as a kit.
Have you pinned a million quilt inspiration images? Or maybe you’re dreaming of making a quilt for someone you love, but aren’t sure where to start? Creating a quilt might seem a little overwhelming if you’ve never done it before. Today I sat down with Camelot’s in-house quilting expert, Cinzia, to ask her for some tips for beginner quilters. She had these six tips to make the process less daunting:
1-START SMALL. If you are new to quilting, Cinzia suggests choosing a small project to start. By choosing a small project, you are able to work through all the steps of creating a quilt, but without a huge time or cost commitment. If it doesn’t work out as well as you’d hoped, you haven’t lost much time or money, but you’ve gained experience. A small project also helps you feel the reward of completion. And as a bonus, it generates a quick feedback loop, helping you understand what works and what doesn’t more quickly (therefore improving your skill).
2- CUT WITH A SPIDER HAND. One challenge for beginning quilters is learning how to use an acrylic quilting ruler and rotary cutter to cut fabric precisely. Quilting rulers are notoriously slippery when you apply pressure with a flat hand, palm pressed against the ruler. Instead try using a ‘spider hand’, where only the tips of your fingers and thumb press firmly on the ruler to hold it in place. Slipping is greatly reduced with this method.
3- STITCH ACCURATE SEAMS WITH POST-IT NOTES. To accurately sew all of your seams at a scant ¼” you can create a simple seam allowance guide with a block of post it notes about 1/8” high. Measure ¼” to the left of the sewing machine needle and affix the block of post-it notes at this exact mark. When you sew, you can simply align the edge of your fabric to this guide to get accurate seams every time. The height of the Post-It note block helps you do this by feel as well as by sight. And finally, because the Post-It’s are sticky on one side, they will hold in place without leaving a sticky residue behind.
4- USE MASKING TAPE FOR A WRINKLE-FREE QUILT BACK. Once your quilt top and back are complete, you’ll need to make your quilt sandwich (the layering of quilt back, batting, and quilt top). The quilt back goes down first, wrong side up. When you build your quilt sandwich, you can use masking tape to keep the back wrinkle free and facilitate the process. To tape the back in place:
1- Lay the back down on your work surface, wrong side up. 2- Tape the back to the table in the middle of the top edge. Gently pull the back at on the opposite side (middle bottom edge). There should be enough tension that there are no wrinkles, but not so much tension that if you were to let go, the back would spring back more than about a ½ an inch. 3- Tape the middle bottom edge. 4- Repeat this process with the sides, taping first at the middle of one side, and then the next. 5-Tape the corners by gently pulling one corner just taut enough to remove the wrinkles, and tape. 6- Proceed to tape all corners, always working diagonally opposite to the previous corner. When you are done you can easily lay down your batting, smooth it out to remove any wrinkles, and then lay down your quilt top (seams down), once again smoothing out any wrinkles and ensuring the top is centered on the batting and quilt back.
5- HIDE QUILTING IMPERFECTIONS. Quilting your project is a skill that is developed over time, and by working on different kinds of projects. When starting out, there are a few tricks to get the best results. Choosing a busy pattern for the backing fabric and choosing a thread colour that matches or disappears into your quilt top and bottom hides imperfections in quilting. Straight line quilting or outlining the piecing pattern are probably the easiest quilting patterns to use for your first projects. Using a walking foot for quilting prevents pulling of the fabric.
6-WALKING FOOT BINDING. Use your walking foot to attach the binding to the quilt. The walking motion of the foot helps prevent any pulling of the multiple layers you are stitching through. Don’t forget to start attaching your binding away from a corner. And to get neat and clean corners, there are many tutorials on the web to help. Try a few of them to see what you like.
One final tip for beginning quilters: If you find the process of choosing fabric and coordinating colours and prints overwhelming, or you like to have an idea of what your project will look like before you start, a kit, like the Bright Side Quilt Kit, is a great way to solve those challenges. And sometimes you just happen upon a kit that you really love, so why not?
We’d love to hear about your first quilting project in the comments, or any questions you have as a beginner quilter.
Happy sewing!


