Hi everyone!
Happy Tuesday! We hope you all having a fabulous day so far. We cannot believe that there are only two more weeks till September…is it time to start taking out the fall coats and boots yet? We’re excited for what’s to come in Autumn, but hoping we’ll get a few more hot-weather days! :)
It’s time for this week’s How To’s Day! And boy, oh, boy are we excited to share our newest friend with you all. We got so many amazing responses on our Endearing Elephants and Roonie the Raccoon, we just had to bring a new guy to the clan! Today we are sharing our Wallace the Whale tutorial on the blog, our adorable and friendly whale plushie who just makes our hearts swoon. Wallace is a larger sized plush animal, so he is perfect as a cuddly pillow and toy for your little nuggets. He would look so sweet in an “under the sea” themed kid’s bedroom or nursery – both decorative and super huggable!
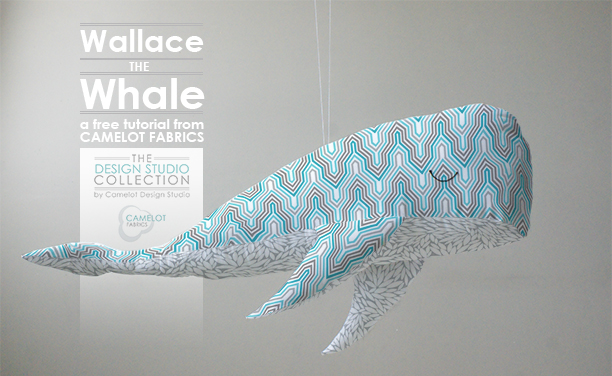
Who says that toys have to be primary colors and an eyesore? We love that Wallace the Whale can be made with the most stylish of fabrics – we love the fun prints we used from our Design Studio Collection. Wallace is looking quite dashing, if you ask us! :)
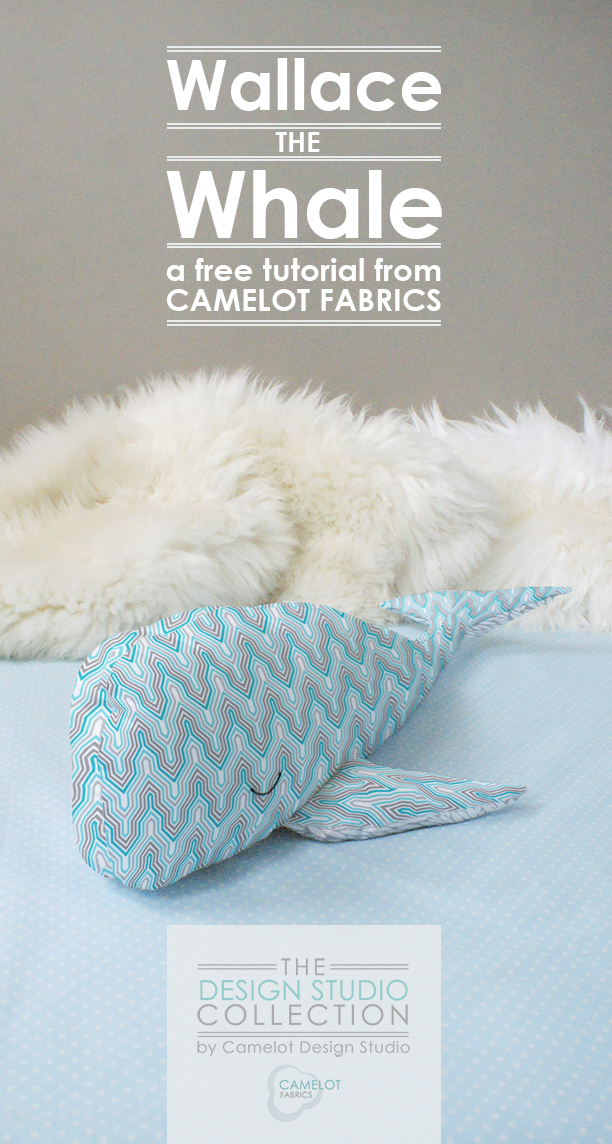
To make your very own Wallace the Whale (…or Whitney, if you prefer!), click HERE to see the full tutorial and pattern. We hope you love our wonderfully, witty Wallace the Whale. Wow, now that’s a mouthful (haha!).
more.
19
August
Hi again!
This is the second part to our Teeny Tiny Play Set Tutorial! If you haven’t seen Part 1, click HERE to see the full tutorial for the Tunic Dress. This tunic and bloomers set make the perfect pair for a little gal who wants to be comfortable and stylish! The colorful, bright prints of Our Petite Plume Collection are fresh, happy, and oh-so perfect for this little tunic and bloomers set. You can also mix-and-match the top and bottom with other items, but together they are just too cute!!
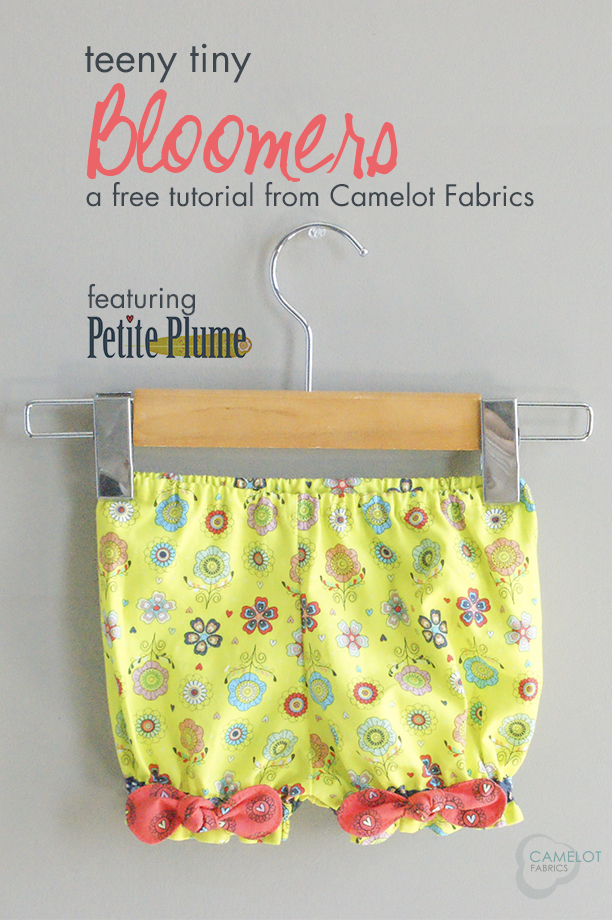
Click HERE to see the full Bloomers Tutorial!
more.
12
August
Hi everyone!
Happy Tuesday! We hope everyone is having a wonderful day so far. It’s the last day to enter our Frolicking Forest Giveaway on our Facebook Page. Be sure to enter HERE if you haven’t yet.
It’s time for our weekly How To’s Day!! Today we are sharing another one of our fantastic project collaborations with you. Jennifer Hagedorn from Tie Dye Diva Patterns created the most adorable Tunic Dress and Bloomers Play Set for us, for our Free Projects Program, and we are launching the pattern for you today on the blog. Our Tunic and Bloomers Play Set is perfect for your little girl to play around in and be comfortable, while being absolutely adorable and girly at the same time. We absolutely love the bow and ruffle details on the tunic…and pockets? Yes, please! The bloomers are just as sweet, with the added ruching and bows – oh so cute!! We chose our Petite Plume Collection because it reminds us of Spring and Summer – we can imagine a little girl playing at the park in this play set, but then also strutting her stuff at a garden party or BBQ.
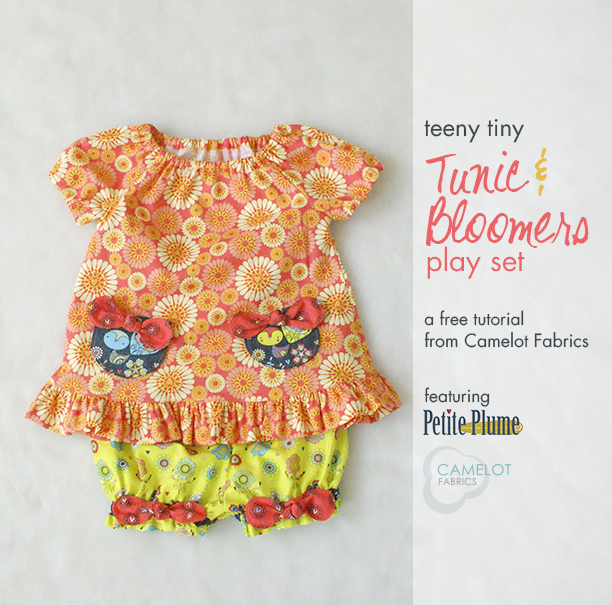
Because this tutorial includes two pieces, we thought it would be easier to split it into two posts. We are going to share the Tunic Dress Tutorial in this post, and the Bloomers Tutorial should be following suite. We are so thankful that we got the chance to work with the incredibly talented Jen from Tie Dye Diva – thank you SO much for creating the sweetest of play sets for our projects. Be sure to check out all of Jen’s other patterns.
Click MORE to see the full Tunic Dress Tutorial!
more.
12
August
Hi everyone!
Happy Thursday! We hope everyone is doing well! We are hosting a new Winsday this week; we are giving away our Frolicking Forest FQ Bundle on our Facebook Page. We’re asking you to let us know what your favorite Summer dessert is, and the answers thus far have been making us oh-so hungry. Yum yum! :)
Time for this week’s Thankful Thursday! Today we are featuring one of our incredible project designers, Jessica George of Sweetbriar Sisters. Sweetbriar Sisters is a wonderful pattern shop dedicated to adorable little stuffies, applique designs, and other little fun sewing projects. The Sweetbriar Sisters‘ esthetic is super sweet and cuddly, and we love how darling all of the stuffies are designed to look. All of their patterns are super easy to follow and fun to make, and they also include material descriptions and tutorials on their website. Some of our favorite little stuffies are Beta the Bunny and Dalton the Dragon (all equally adorable, so difficult to choose!), but our hearts are fond for one particular duo…
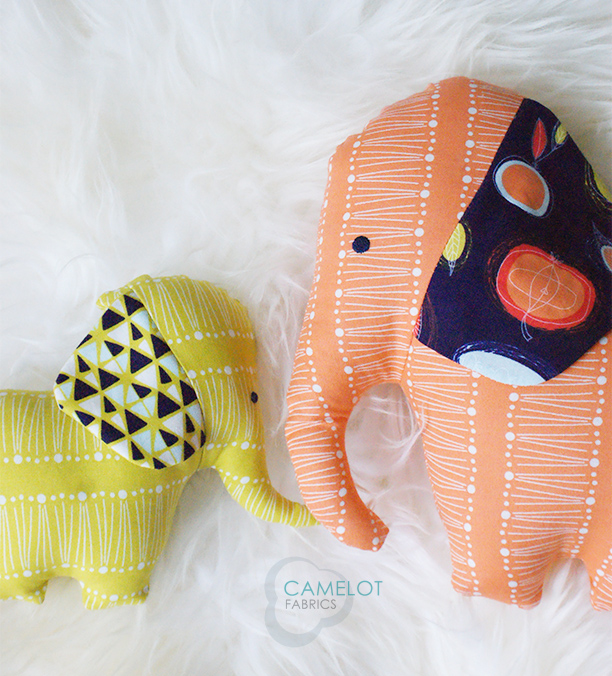
We had the absolute pleasure of working with Jessica of Sweetbriar Sisters for our Free Projects Program. Jessica created an uber-sweet mother & baby elephant duo pattern for us, and we just could not contain our squeals the first time we saw them in person. SO CUTE!! We chose our Fruit Stand by Jane Farnham Collection for these little guys, and it could not have been a more perfect choice! The colors are so fun and bright, and make these elephants perfect for a modern nursery or playroom. We have seen so many toy plushies in high-end retail stores, so these are a great way to follow the trends…and have fun while making them too! You can get the full, free pattern for these Endearing Elephants on our website HERE.
We wanted to say a big THANK YOU to Jessica for creating the most adorable elephant pattern for us!! We have gotten so many positive responses on this little duo already, and cannot wait to see the elephants that are created by you. If you do create your very own, we would love to see. You can send your pictures to info@camelotfabrics.com. Be sure to check out Sweetbriar Sisters for all of their amazing patterns, as well as their Facebook, Twitter, Pinterest, and Instagram. Have a great day, everyone!
Happy Sewing!
more.
07
August
Hi everyone,
Happy Tuesday!! We hope you are having a terrific day so far. We cannot believe that we are already into August – we are still hanging onto Summer, and excited to soak up the last bits of sunshine before fall rolls around.
Time for our weekly How To’s Day!! Today we are going to share with you a simple, but very pretty, Double-Sided Headband Tutorial – perfect for adding that extra oomph to any outfit! Our Double-Sided Headband will be your go-to accessory because, with different patterns on either side, you can easily switch up your look from day to night! We love trying out new styles, so this headband is a great way to play around with new colors and patterns. As well, there are so many ways to style a headband – hair down in loose waves or straight, in a topknot, high pony, or side braid…the possibilities are endless!
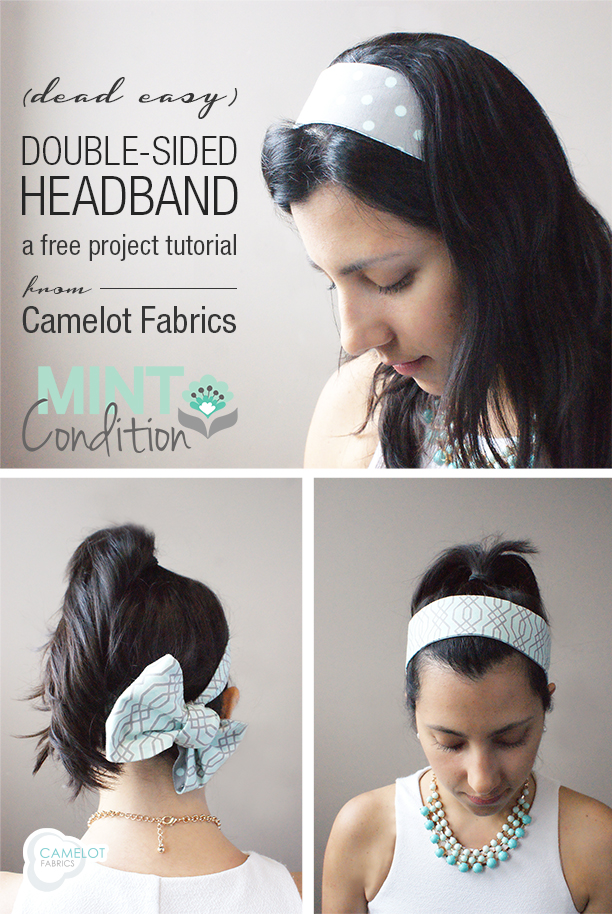
We also love the idea of creating a bow with the ends for a fun & flirty look, or you can leave the ends in a simple knot. We’d love to know what your favorite way to wear a headband is! We used some of our favorite cotton collections for our Double-Sided Headband, which we found helped the headband stay in place, as opposed to anything too silky. As well, the contoured shape of the headband allows for it to easily shape around your head, and can be tied with ease.
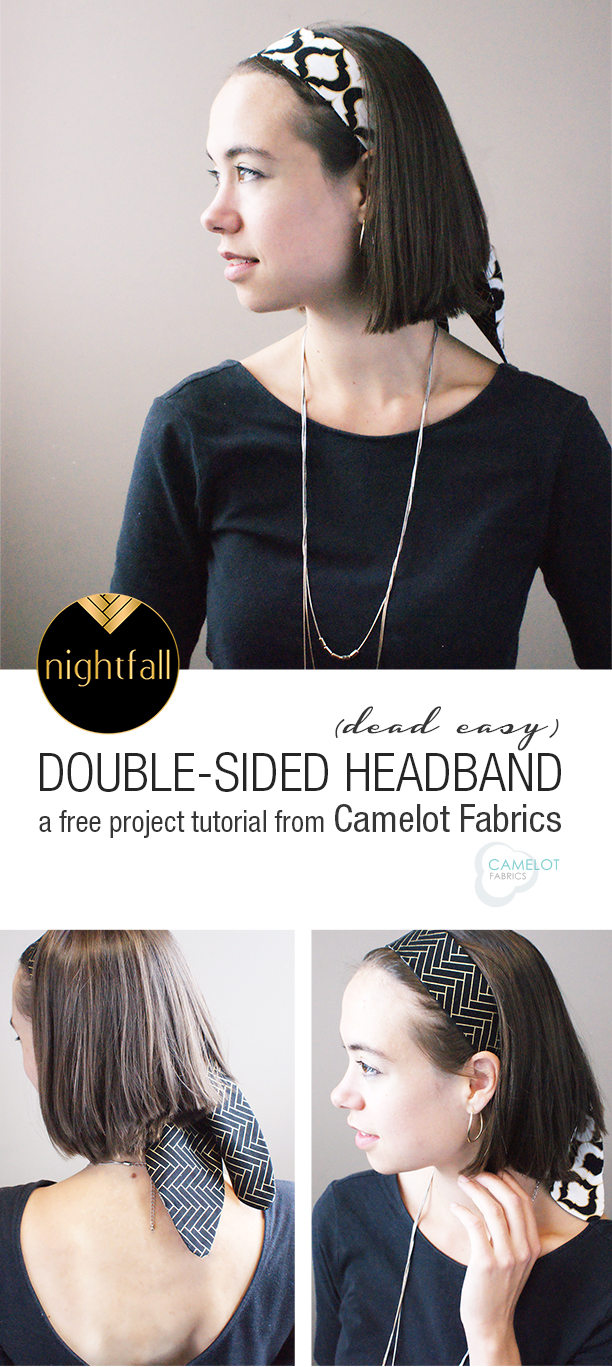
We used our Nightfall and Mint Condition collections for two playful looks. Our Double-Sided Headband is such a fun and straightforward tutorial that we’re sure you’ll be wanting to make one in every color and design combination possible. But no worries, your hair will just always be pretty, put together, and stylish! Click HERE to see the full tutorial!
more.
05
August


