Hi everyone!
Happy Tuesday!! This week is our Summer 2014 Collections Launch Week, and we hope you have been enjoying our launched collections thus far. We have been posting a new collection everyday: Monday was our Paddington Bear Collection by the Camelot Design Studio, and today we launched It’s a Bird’s Life by Heather Rosas. Be sure to check out our previous blog posts on them, as well as the full collections and coordinating free projects on our website.
We have been branching into the crafting world, and now have a wonderful collection of felt! We have soft felt (printed and solid designs), hard felt (printed and solid), and adhesive felt (printed and solid) in 12×12″ pre-cuts – perfect for all your crafting and decorative needs. Our soft felt is also available by the yard, both in our printed and solid designs. Be sure to check all of our pretty felt designs and colors on our website!
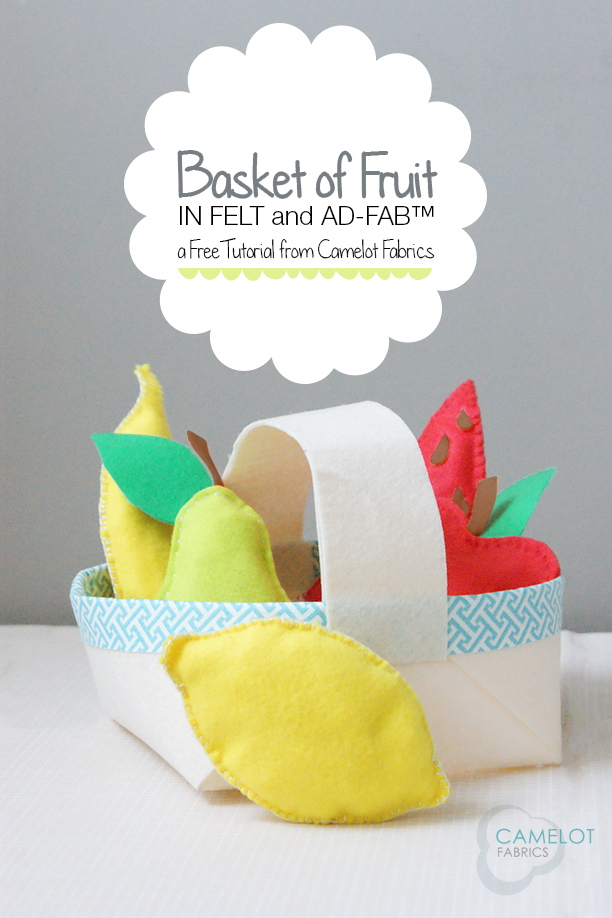
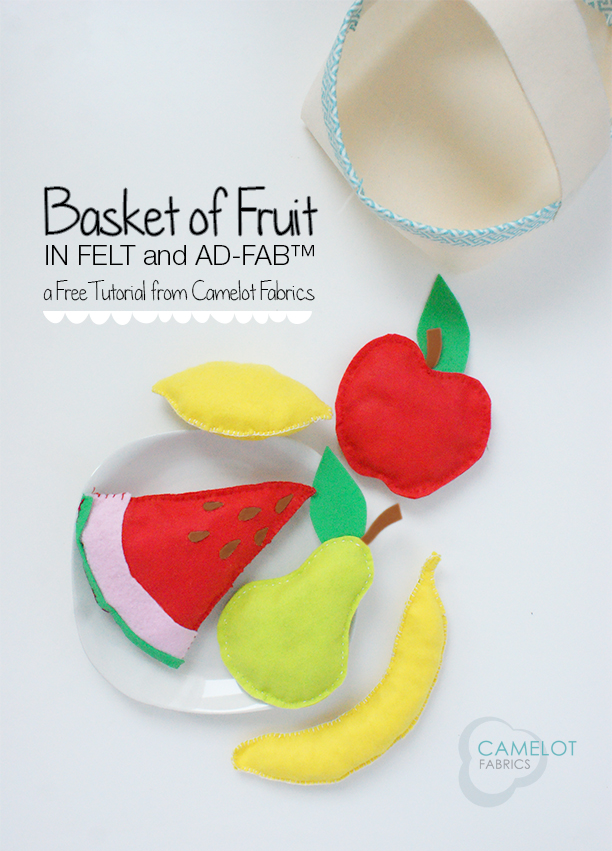
In honor of our felt, we have got a very adorable and fun tutorial for this week’s How To’s Day. Today we are sharing with you our super sweet Basket of Fruits Tutorial. With all the delicious colors found in our felt collection, we were inspired to make something yummy (with names such as Melon, Raspberry, Bubblegum, and Chocolate…how couldn’t we be?). Our little fruit basket includes all of your favorites – a slice of watermelon, a banana, a pear, an apple, and a lemon – so sweet that they look almost good enough to eat.

This felt and ad-fab™ project is perfect for playing with your little ones or for decorating a kitschy room. This would also be a great project to make with little kids; let them choose their favorite fruits and they can help cut out the shapes and glue on the pieces! It would be a fun way to spend an afternoon together. The fruit possibilities are endless, so have fun with this tutorial, and make your very own basket of yummy fruits!
Ready for some more deliciousness? Click MORE to see the full tutorial on how to make your own felt and ad-fab™ Basket of Fruit!
more.

