Hi everyone!
Happy Tuesday! Hope everyone is having a great one so far!! It’s such a pretty day out, we decided to have a fun photo shoot outside for today’s post! And even more prettiness coming your way with our current Neon & On FQ Bundle Giveaway that ends tomorrow. Be sure to enter HERE if you haven’t yet! :)
Speaking of photo shoots, today’s How To’s Day is inspired by just that! Here at the Camelot Design Studio, we are always looking for new and progressive ways to improve the look of our blog. We try to post interesting and refreshing things daily, and we hope you have been enjoying our posts thus far, but there’s always room for improvement! One thing that we are trying to get better at is our photography skills. A well-written post is one thing, but having an eye-catching photograph is what will grab the reader’s attention. What we have learnt through practice is that no matter how fantastic your camera is, lighting is key to a brilliant photo! However, studio lighting such as softboxes, umbrella lighting, and reflectors can be a pretty pricey investment…especially if you don’t need to use it every day.
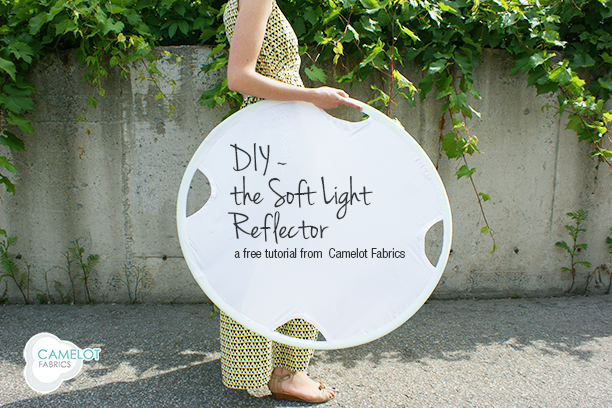
We have come up with a pretty brilliant DIY project that is 1) cost-effective and 2) a great way to improve your photography skills/photos. Our DIY Soft Light Reflector uses our satin and, if you can believe, a hula hoop! How’s that for being resourceful? :) We have found that our soft light reflector reduces shadow lines and softens the appearance of your subject, thus creating a better, smoother, and prettier photograph!!
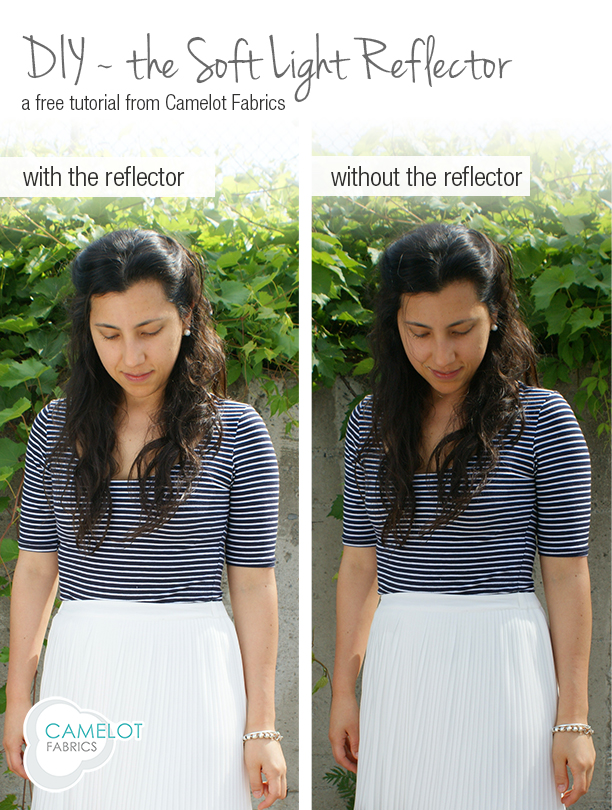
Now you can be your own professional photographer at home, no matter where you live. Take us for example: we’ve had to make due with our urban surroundings of trucks and warehouse buildings. Looks pretty good though, right? You never would have believed! :)
Click HERE to see the full tutorial!
more.
17
June
Hi everyone!
Happy Tuesday!! We hope everyone is having a great start to the week. It’s Father’s Day this weekend!! It’s the day to celebrate the man who has always been there for us, no matter what. And this includes (but is not limited to!) killing spiders, shoveling the snow in -30 C weather, making us his famous spaghetti when mom was sick, miraculously fixing that hairdryer that you thought you broke, and loving us unconditionally. We appreciate everything that you do for us, Dads – thank you for everything! :)
What better way to show your dad how much he means to you by making something from the heart. We have an awesome Passport Cover Tutorial for this week’s How To’s Day that would be the perfect gift for that inspiring man in your life. This sleek passport cover is such an essential for any avid traveler – there is nothing worse than rummaging through your things while at the airport trying to find your passport. As if airports weren’t stressful enough! With our cover, your passport will be protected…and with the pretty fabric, easy to find! The elastic band adds extra security, so you can slip your airline ticket and other essentials inside too. And with the inner pockets, you can hide away extra money or cards. We especially love our passport cover with our navy and tan prints from Paisley Please; stylish but neutral enough for a man.
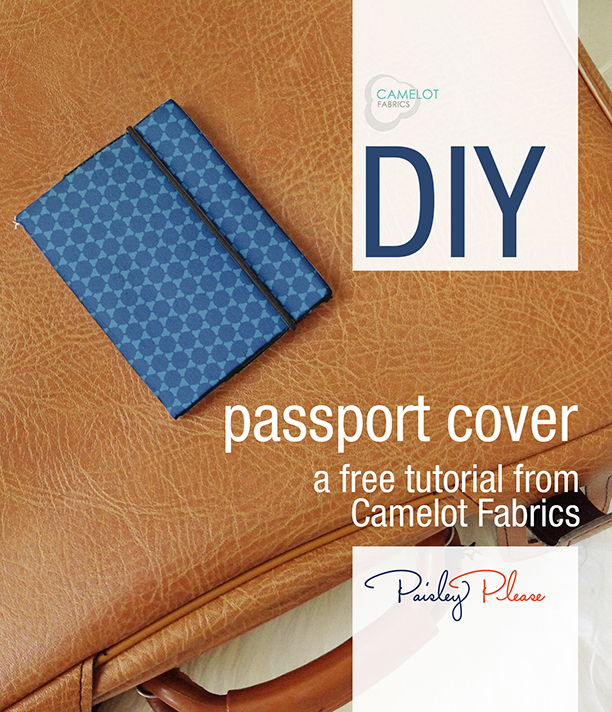
Ready for the full tutorial? Click HERE for the free tutorial for our Passport Cover!
more.
10
June
Hi everyone!
Happy Tuesday! I hope you all are having a wonderful day!! We are happily enjoying the sunshine and warm weather today. The pretty weather is making us daydream of taking a relaxing, tropical vacation to Turks & Caicos or Hawaii! And speaking of dreaming, we have got a DIY project to share with you today that reminds us of just that. Our heads are in the clouds today…
This week’s How To’s Day is our DIY Star and Cloud Shape Pillows tutorial! All of you fellow dreamers and astronomy lovers, this project is perfect for you. Another bonus, it is super easy to make AND is an exceptionally adorable project! Our shape pillows would be a great addition to a sky-themed bedroom (think clouds and stars scattered across a blue comforter!) or as a gift for a future astronaut! We always love to encourage creativity here, so these would be perfect playtime toys for kids – let their imaginations run free – and then a comfy accompaniment for naptime (because all that playing can wear you out, after all!). We adore our shape pillows with our Take Flight by Vita Mechachonis, a brilliant and bold airplane- and sky-themed collection!!
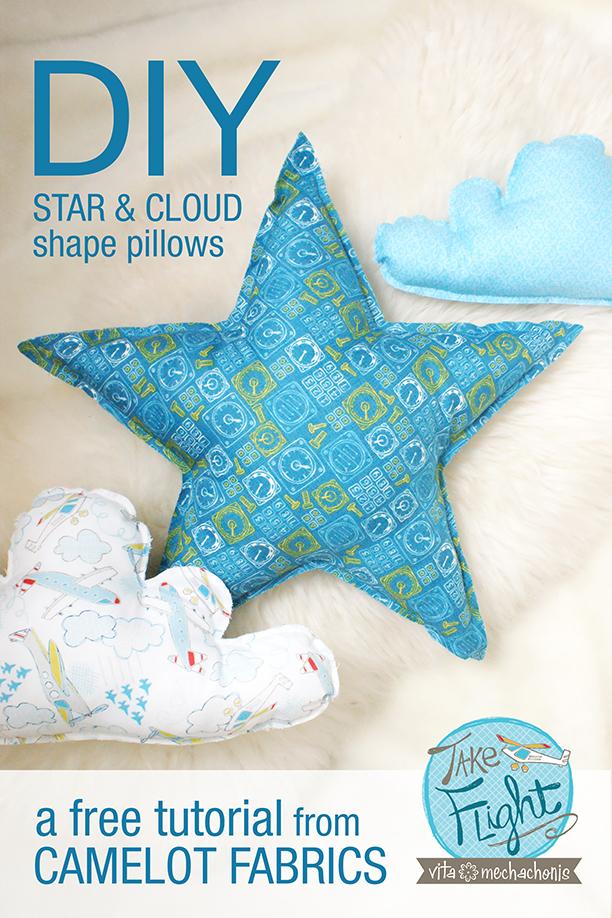
Click HERE to see our free tutorial on our Star and Clouds Shape Pillows! Let your imagination and creativity take you on a wonderful journey, to dance with the stars and the clouds…
more.
03
June
Hi everyone!
Happy Tuesday! We hope everyone is having a wonderful day. It’s Day TWO of our Spring 2014 Collections Launch. Have you seen the collections we’ve launched so far? Be sure to check out Star Wars III, Ultimate Spider-Man II, and Girl Power II. Lots more prettiness to come! :)
We have our How To’s Day for you!! Today’s tutorial is on a really adorable, fun kid’s tote – Our Tot’s Triangle Tote!! We remember being little girls always wanting to be just like our mommies; wearing her heels, putting on her makeup, dowsing ourselves in too much perfume, and of course, strutting around with her clothes and handbags. Now our kids don’t have to go through mommy’s things (although, they probably still will!) because we can make them their very own tote – kid-sized and friendly, but just as chic! Our younger selves would feel so pretty and grown-up with our very own bag to match our mum’s, putting all the important things inside – like chapstick, animal crackers, and crayons – of course! ;)
We can even imagine little girls and boys going to the playground with our kid tote – the perfect companion for carrying all their park essentials (bubble, sand toys, and band-aids!). They can keep all of their newfound treasures inside too. And there’s even an interior pocket to keep all their special things safe! :)
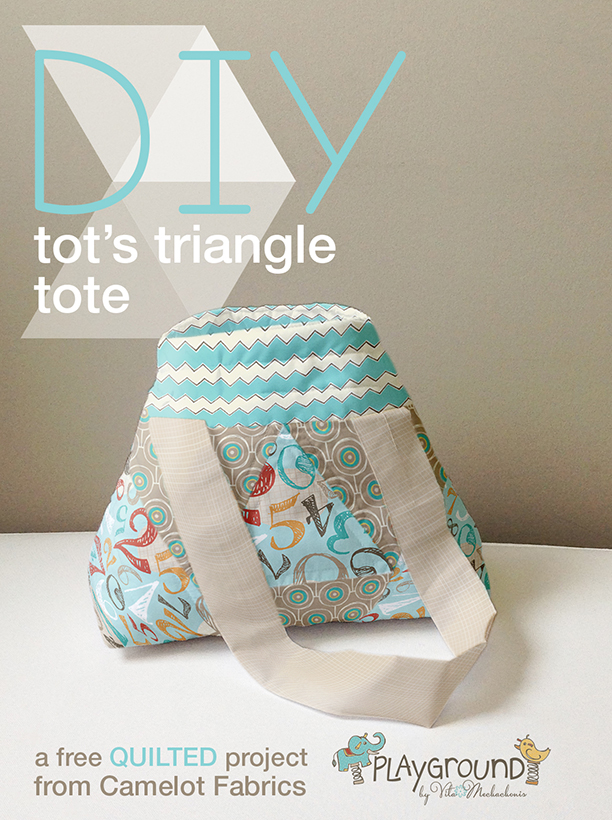
We used Our Playground by Vita Mechachonis collection for this tutorial; a happy and playful collection inspired by another thing we miss most about our childhoods – going to the park to play with friends, swinging to our heart’s content, and hanging on the monkey bars. So many wonderful memories that make Playground especially nostalgic.
Ready to make your very own tote? Click HERE to see the full tutorial!
more.
13
May
Hi everyone!
Happy Tuesday! We hope everyone is having a wonderful day. We are celebrating Mother’s Day all this week because we love our mums! Today we are going to share with you a wonderful gift idea for that special mom who deserves to feel pampered.
This week’s How To’s day is our elegant Trellis Edged Robe featuring our Iconic Collection. This robe is luxurious and beautiful, complete with stunning trellis detailing on the sleeves and edging, as well as a satin lining. Who wouldn’t want to wake up to a cup of coffee or tea, with the daily newspaper or favorite television show, snuggled up in this robe? There is no better way to spend the morning, we think. Our Trellis Edged Robe will make anyone feel pretty and like royalty, as our mums should feel every day!!
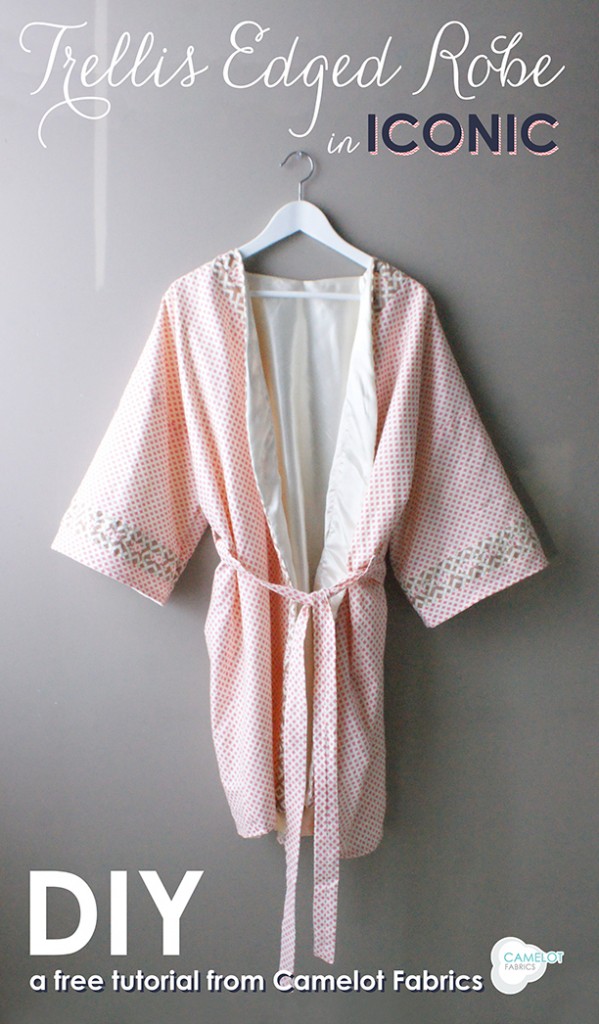
This is such a beautiful project, and we are so excited to share it with you! To complete the “day-in” look, you can check out our Pajama Pants tutorial to make your mom her very own Iconic pj set.
Click HERE to see the full instructions!
more.
06
May


