How To’s Day: Peaks & Valleys Table Runner by Happy Quilting Designs
November 24th, 2015 by Camelot Fabrics
Hi everyone,
Happy Tuesday! I hope everyone is having a great day. Have you entered our Nordic FQB Giveaway yet? Be sure to enter here!
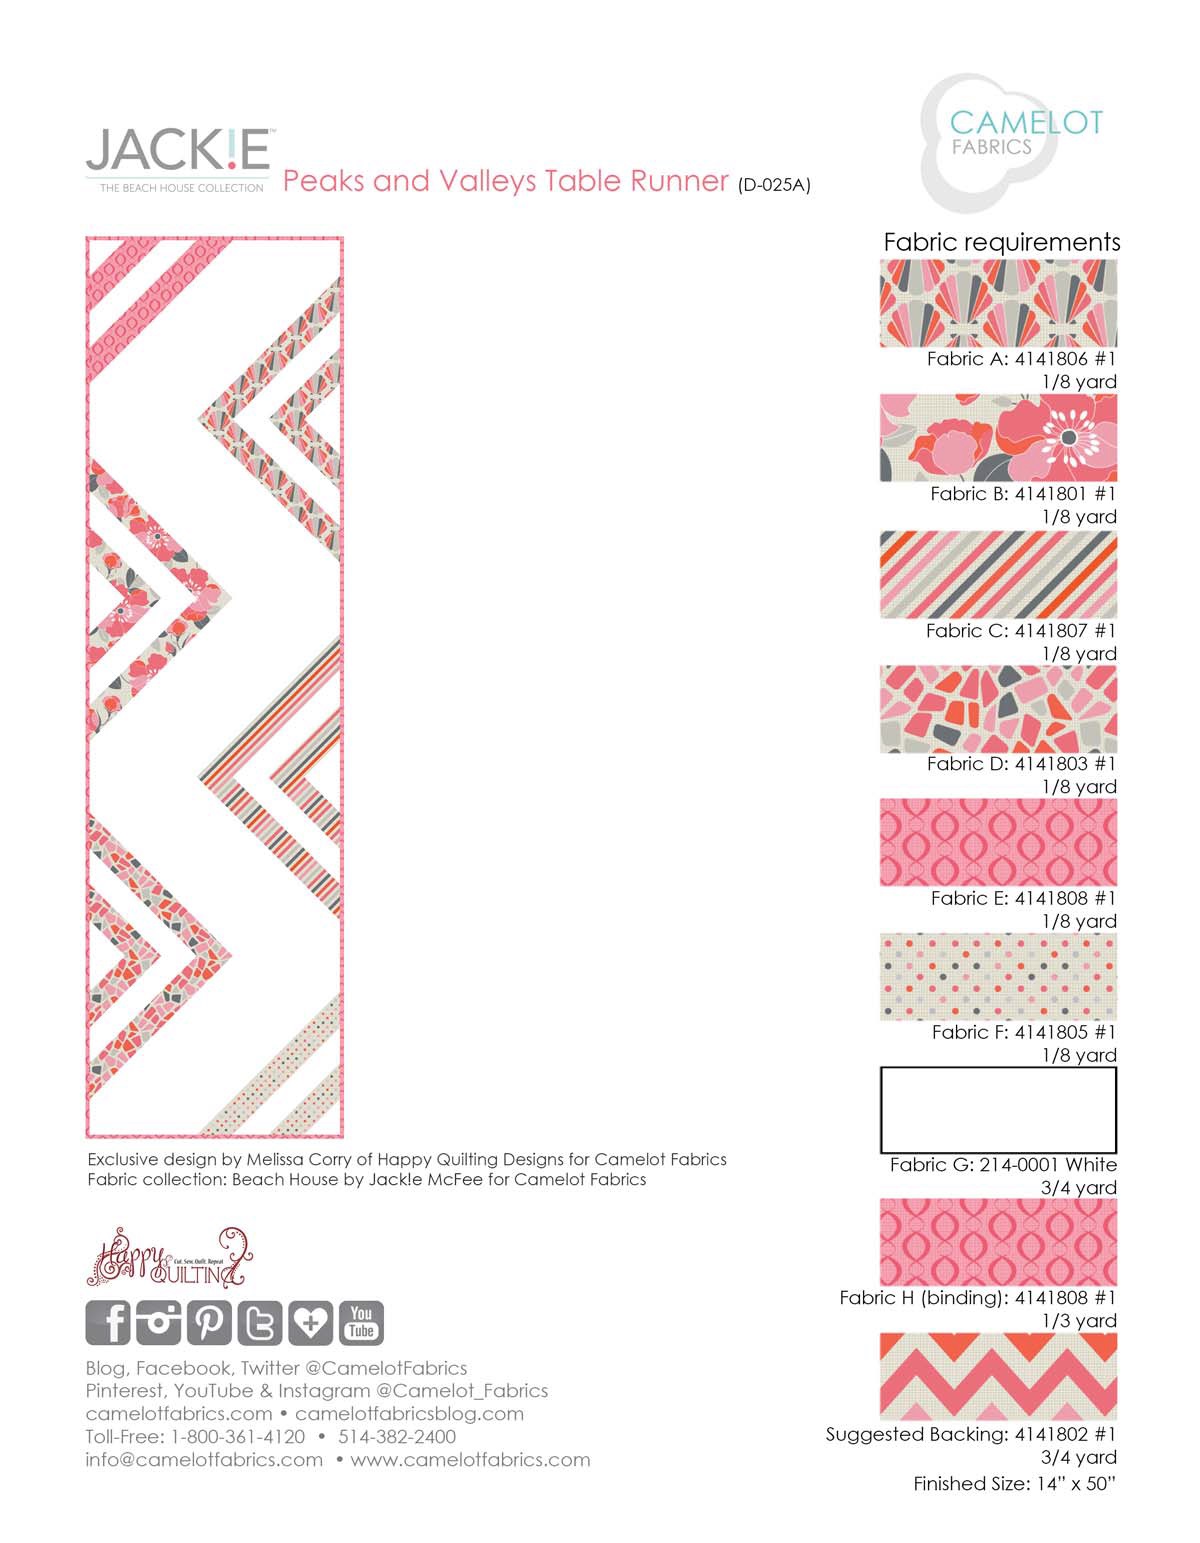
Time for this week’s How To’s Day! Today we are featuring our Peaks & Valleys Table Runner by Melissa Corry of Happy Quilting Designs. The Peaks & Valleys Table Runner is a simple, but elegant table runner that will add a fun pop to your dining or living room table. The “zig-zag” designs are made up of smaller triangles to resemble peaks & valleys, while the clean white space makes it an easy mixing piece with your current decor. How pretty does it look with the color colorway of our Beach House by Jack!e McFee collection? Gorg!
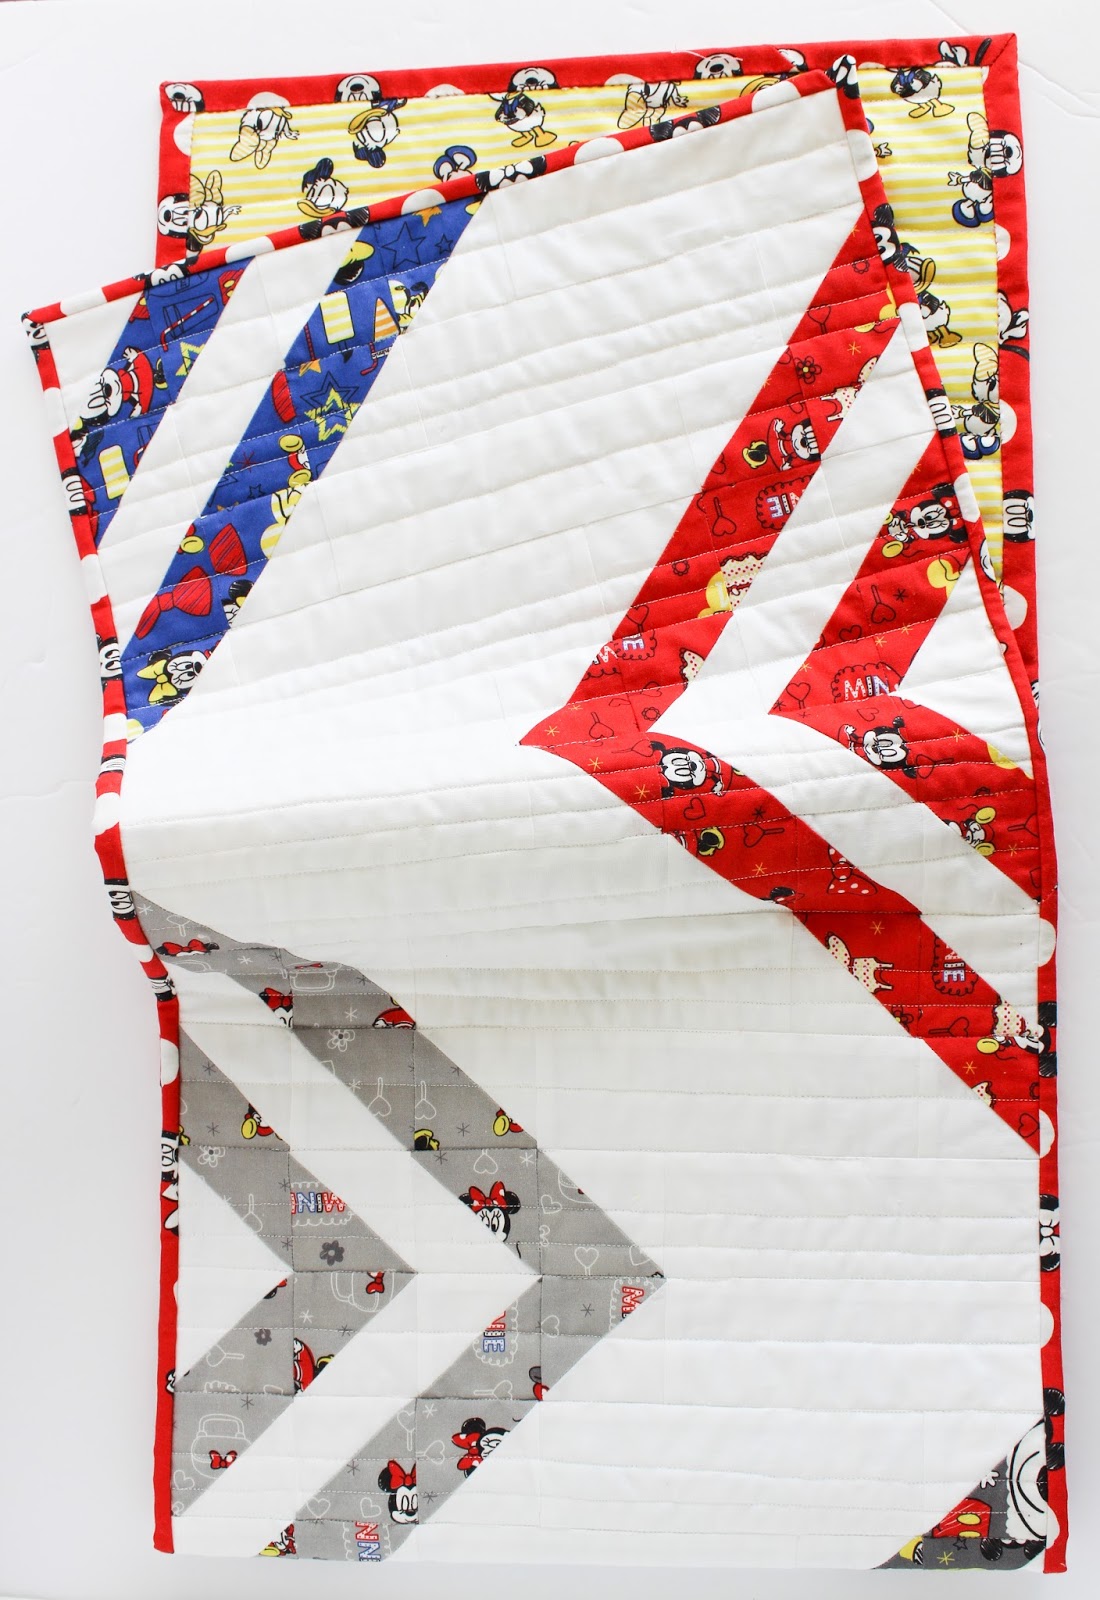
We also had this table runner made up for our Quilt Market Mickey Mouse & Friends section. We adore how the bright, primary colors look together. Shannon Fraser did such an amazing job!
Want to make your own Peaks & Valleys Table Runner? Click MORE to see the full tutorial.
PEAKS & VALLEYS TABLE RUNNER
Project Designer: Melissa Corry of Happy Quilting Designs
Fabric Featured: Beach House Collection by Jack!e McFee
OTHER TOOLS & SUPPLIES
– 1/2 yard of quilt batting (58” wide) from Camelot Fabrics
– sewing machine & coordinating thread
– rotary cutter & fabric shears
– paper printer
– paper scissors
– straight edge ruler & measuring tape
– straight pins
– fabric marker or pencil
NOTES:
– WOF = width of fabric (42”)
– HST = half square triangle
– Unless otherwise directed, sew all seams with an accurate 1/4” seam allowance.
– Please wash, dry & iron your fabric before beginning, and trim selvages.
CUTTING:
Fabric G – Background
Cut (4) 3” x WOF strips – sub-cut (50) 3” squares.
Cut (2) 6-1/2” x WOF strips – sub-cut (25) 2-1/2” x 6-1/2” rectangles.
Fabric H – Binding
Cut (4) 2-1/2” x WOF strips.
Backing
Cut (2) 16” x 27” rectangles.
PIECING THE TABLE RUNNER:
1. Draw a diagonal line through the center of each Accent square.
2. Place each Accent square on a Background square, Right Sides facing, and sew the pieces together 1/4” from either side of the line.
3. Cut along the line to create (2) HST units. Press the seam toward the Accent fabric.
Repeat to make (2) HST units from all Accent & Background fabric 3” squares.
4. Trim each HST unit to 2-1/2” square, as necessary.
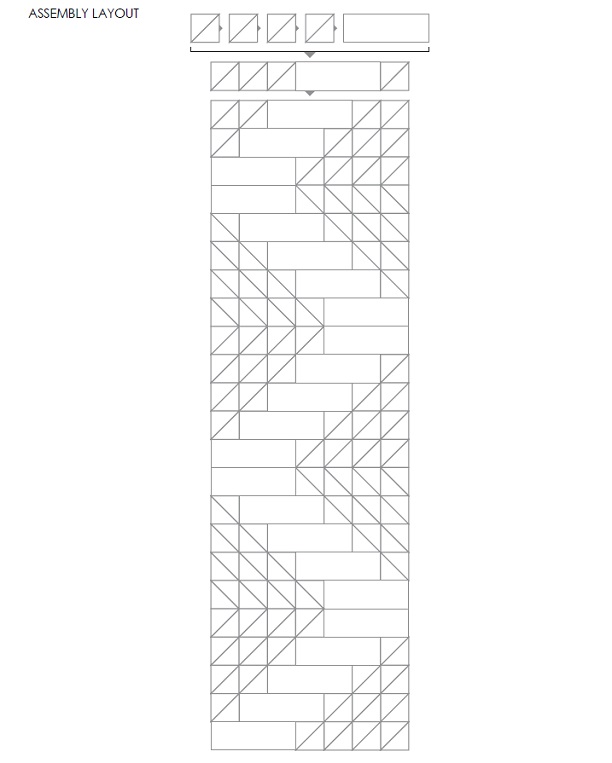
5. Referring to the Assembly Layout and the project illustration on Page 1, arrange the HST units & Background rectangles in (25) rows. Each row will contain (1) Background rectangle & (4) HST units. Press the seams open.
6. Join the rows top-to-bottom, and press the seams open.
This completes the table runner’s top.
FINISHING:
1. Join the Fabric H Binding strips end-to-end, and press the seams open. Press the composite strip into double-fold binding.
2. Join the (2) Backing rectangles along a pair of 16” edges, and press the seam open.
3. Layer the top, backing & batting, with the fabrics’ Right Sides outward. Baste & quilt as desired, and bind with Fabric H.
Wooo for another DIY!! I hope you all enjoyed this one. If you decide to give it a try, we’d love to see. You can send your project photos to info@camelotfabrics.com or tag us on Instagram. Have a fabulous day!
Happy Sewing!
Comments are closed.


