How To’s Day: From Seam to Slit Tutorial
January 27th, 2015 by Camelot Fabrics
Hi everyone,
Happy Tuesday! We hope everyone is having a nice day. It’s super cold here today, but we’re enjoying the sunshine from indoors haha. Oh! And, as if we even needed a reason for cake, it’s National Chocolate Cake Day. Cake, we’re coming from you!
Time for this week’s How To’s Day! Today we’re bringing to you our super useful tutorial for a turning a seam to a slit, while avoiding any exposed edges. If you’ve ever wanted to create a slit at the back of a pencil skirt or simply wanted to alter a project by creating a slit, this From Seam to Slit tutorial will guide you in doing so, the easy way! The end result will be a clean seam, with the raw edges tucked away perfectly. And at the end of the tutorial, we’ve offered a cumulative jpeg of the steps that you can be printed out.
Click HERE to see the full steps for our Press Back Seam Tutorial!
PRESS BACK SEAM TUTORIAL
TOOLS & SUPPLIES:
Basic sewing supplies:
– Sewing machine
– Needle & coordinating thread
– Iron & pressing surface
– Straight pins
NOTES:
– Please wash, dry & iron your fabric before beginning, and trim the selvages.
– We’re using a contrasting thread in our tutorial to help you see how each step is shown. For your project, you’ll probably want to choose a thread color which blends well with your fabric.
SEW THE SEAM:
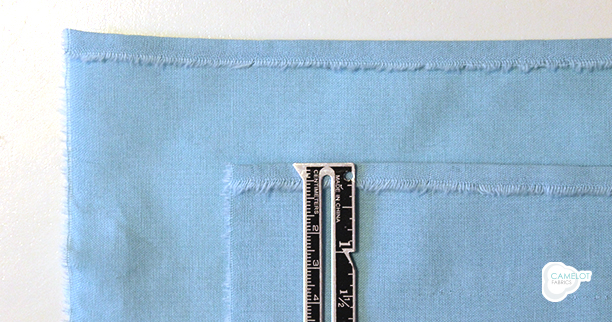
1. Press back the edges of your fabric where you’ll be sewing by 1/4”, Wrong Sides together.
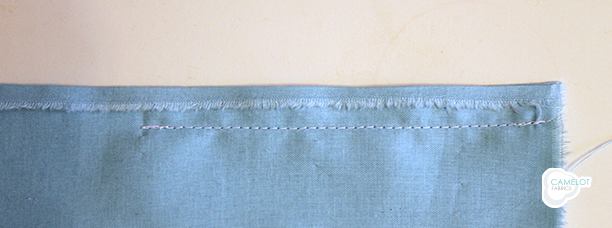
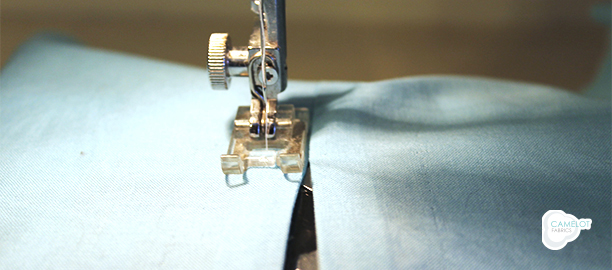
2. Sew your (2) layers of fabric, Right Sides together, with a 1/2” seam allowance. If you’re sewing a seam which leads into a slit, stop sewing at the beginning of the slit and backstitch to lock the seam.
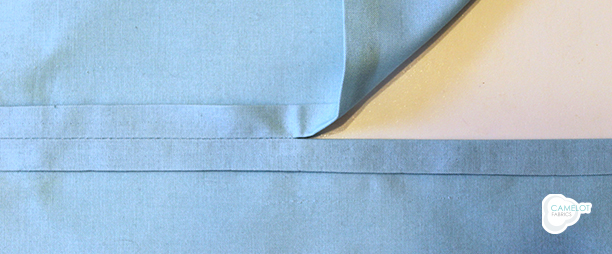
3. Press the seam allowances open, including the part beyond the actual seam. Here’s what it looks like from the inside (with a little glimpse of the outside view for good measure). As you can see, there are no raw edges showing.
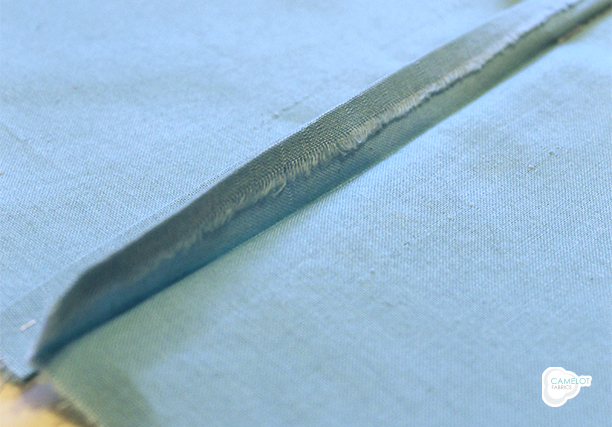
Here’s a view of the underside of your seam allowance, showing the 1/4” raw edge which you pressed in Step 1.
4. Topstitch 3/8” from the seam on each side, to hold your seam allowance in place and keep your raw edge nicely hidden.
5. If your seam leads into a slit, topstitch (2) lines of stitching just before the slit begins, running between your long seams from Step 3. Backstitch at both ends of these stitching lines.
Here’s the finished seam, transitioning cleanly into a no-fuss slit which looks just as good on the inside as it does on the outside.
————————————————————————————————————————————————-
Below is a cumulative jpeg of our From Seam to Slit Tutorial which can be printed out and used for reference!
We hope you’ve found this tutorial helpful. Now to find some chocolate cake… Have an awesome rest of the day, everyone! :)
Happy Sewing!




January 28, 2015 at 10:50 am, allison CB said:
National Chocolate Cake Day – what a concept! THANKS for the tutorial – neat technique!